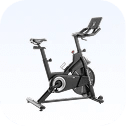



A spin bike is one of the most effective pieces of cardio equipment for improving cardiovascular fitness, building endurance, and supporting weight management. However, even the highest quality spin bike cannot deliver its full benefits if it is not adjusted correctly. Many people spend time choosing the perfect bike but overlook one of the most important factors that affects every workout: proper bike setup.
An incorrectly adjusted spin bike can quickly turn an enjoyable workout into an uncomfortable experience. A seat that is too high may cause hip rocking and strain behind the knees, while a seat that is too low can place excessive pressure on the knees and reduce pedaling efficiency. Handlebars positioned incorrectly may lead to neck, shoulder, wrist, or lower back discomfort, making longer rides difficult to enjoy. Even resistance settings can influence your riding technique, affecting both comfort and workout effectiveness.
Proper bike setup is not only about avoiding discomfort. It also improves pedaling efficiency, allows your muscles to generate power more effectively, and helps reduce unnecessary stress on your joints. Whether you are riding for weight loss, endurance, interval training, or general fitness, making a few simple adjustments before every workout can significantly improve your overall performance.
Another important advantage of correct setup is injury prevention. Maintaining proper alignment throughout your ride allows your body to move naturally while reducing repetitive strain on the knees, hips, lower back, shoulders, and wrists. Over time, these small adjustments contribute to safer workouts and better long term results.
It is also worth remembering that there is no universal bike setup that works for everyone. Factors such as height, leg length, flexibility, riding experience, and fitness goals all influence the ideal riding position. Learning how to adjust your bike according to your own body is one of the most valuable skills any indoor cyclist can develop.
In this guide, you will learn how to adjust your spin bike correctly, understand the importance of seat height, handlebar position, resistance settings, and riding posture, and discover practical tips that can make every workout more comfortable, efficient, and enjoyable.
Editorial Disclaimer
Lifetime Fitness Store does not provide medical or fitness advice. This article is intended for educational and informational purposes only. Always consult a qualified healthcare professional or certified fitness trainer before beginning a new exercise program, particularly if you have an existing injury or medical condition.
Why Proper Spin Bike Setup Matters
Many riders focus on workout intensity while paying very little attention to bike setup. In reality, your riding position influences nearly every aspect of your workout. Proper adjustments help distribute your body weight evenly, improve pedaling mechanics, and allow your muscles to work efficiently throughout every ride.
A well adjusted bike also reduces unnecessary fatigue. When your body is properly aligned, your muscles can generate power more effectively without wasting energy compensating for poor posture or awkward joint positions. This means you can ride longer, maintain better technique, and enjoy a smoother overall experience.
Comfort is another important reason to take setup seriously. Discomfort often discourages people from exercising consistently. Small adjustments to the seat, handlebars, and resistance can transform a difficult ride into one that feels natural and enjoyable, making it easier to stay committed to your fitness routine.
Perhaps most importantly, proper bike setup reduces the risk of overuse injuries. Indoor cycling involves thousands of repetitive pedal strokes during every workout. If your body is not positioned correctly, even minor alignment issues can gradually place excessive stress on the knees, hips, lower back, shoulders, or wrists. Correct setup helps minimize these risks while supporting safer long term training.
Understanding the Main Adjustment Points
Although spin bikes may appear complicated at first, most models are built around four primary adjustment points. These include the seat height, seat position, handlebar height, and resistance settings. Together, these adjustments determine how your body interacts with the bike during every workout.
Seat height controls the amount of bend in your knees during each pedal stroke. Seat position determines how your hips align over the pedals. Handlebar height influences your upper body posture, while resistance controls the overall difficulty of the workout.
Each adjustment affects the others. Changing the seat height may also require a small handlebar adjustment, while modifying your riding posture could influence the amount of resistance that feels comfortable. Understanding how these settings work together allows you to create a riding position that feels balanced, efficient, and sustainable.
Setting the Correct Seat Height
Seat height is often considered the most important adjustment on a spin bike because it directly affects your pedaling mechanics and joint alignment. Even a small error in seat height can lead to discomfort over time, particularly during longer workouts.
A simple way to begin is by standing beside the bike and adjusting the seat so it is approximately level with your hip bone. This provides a good starting point for most riders. Once seated, place one foot on the pedal and rotate it to the lowest position. At this point, your leg should be almost fully extended while maintaining a slight bend in the knee.
If your leg becomes completely straight or your hips begin rocking from side to side while pedaling, the seat is likely too high. Lowering it slightly usually solves the problem. If your knee remains excessively bent at the bottom of the pedal stroke, the seat is too low, placing unnecessary stress on the knees while reducing pedaling efficiency.
Proper seat height allows smooth, controlled pedal strokes while encouraging maximum power transfer through the legs. Many riders notice an immediate improvement in comfort once this adjustment is made correctly.
Also Read : How to Adjust Your Exercise Bike for Effective Ride
Finding the Right Seat Position
Once the seat height has been adjusted, the next step is positioning the seat forward or backward. This adjustment affects how your knees align over the pedals during the workout.
A common guideline is to position the pedals so they are parallel with the floor. When your feet are in this position, the front of your forward knee should align approximately over the center of the pedal. This alignment helps distribute force evenly throughout the pedal stroke while reducing unnecessary pressure on the knee joint.
If the seat is positioned too far forward, your knees may travel excessively beyond the pedals, increasing stress on the front of the knee. If the seat is too far back, you may overreach during every pedal stroke, reducing efficiency and placing additional strain on the hips and lower back.
Small adjustments usually make a noticeable difference. Taking time to fine tune the seat position helps improve comfort while supporting smoother and more efficient cycling mechanics.
Adjusting the Handlebars Correctly
Handlebar position has a significant influence on upper body comfort and riding posture. Beginners often benefit from slightly higher handlebars because they encourage a more upright riding position that places less stress on the back, shoulders, and wrists.
As flexibility and cycling experience improve, some riders prefer lowering the handlebars slightly to create a more aerodynamic posture similar to outdoor road cycling. However, comfort should always take priority over appearance or performance.
When your hands rest on the handlebars, your elbows should remain slightly bent rather than locked. Your shoulders should feel relaxed, and your neck should remain in a comfortable neutral position. If you find yourself reaching excessively or rounding your back, the handlebars may need adjustment.
Proper handlebar positioning allows you to support your upper body comfortably while keeping unnecessary pressure away from your wrists and shoulders. It also encourages better breathing by allowing your chest to remain open throughout the ride.
Choosing the Right Resistance
Resistance is one of the most important settings on a spin bike because it determines how challenging your workout feels and how effectively your muscles are engaged. Many beginners assume that heavier resistance automatically produces better results, while others ride with resistance that is far too light. In reality, the ideal resistance level is one that allows you to pedal smoothly while maintaining proper technique throughout the workout.
If the resistance is too low, your legs may spin too quickly with very little control. This can cause your hips to bounce on the saddle, reducing pedaling efficiency and increasing the risk of discomfort. On the other hand, resistance that is too high forces you to pedal slowly with excessive effort, placing unnecessary stress on your knees and making it difficult to maintain a consistent cadence.
A good starting point is to select a resistance level that allows smooth, controlled pedaling without feeling either effortless or overwhelming. During endurance rides, the resistance should allow you to maintain a steady rhythm while holding a comfortable conversation. During hill climbs or interval sessions, increasing the resistance gradually should challenge your muscles without compromising your posture or pedaling technique.
Rather than focusing on riding with the highest possible resistance, prioritize smooth movement and consistent effort. This approach not only improves performance but also reduces unnecessary strain on your joints while making your workouts more enjoyable.
Maintaining Proper Riding Posture
Correct posture is just as important as adjusting the bike itself. Even with perfect seat and handlebar settings, poor body positioning can reduce efficiency and lead to discomfort over time.
Your head should remain in a neutral position with your eyes looking forward rather than down at the flywheel. Keeping your neck relaxed helps prevent tension from building in the shoulders during longer rides.
Your shoulders should stay low and relaxed instead of being raised toward your ears. Many riders unknowingly tense their shoulders when workouts become challenging, leading to unnecessary fatigue in the upper body.
Maintain a slight bend in your elbows throughout the ride. Locked elbows transfer impact directly into the wrists and shoulders, while relaxed arms help absorb movement naturally. Your grip on the handlebars should also remain light. You should be guiding the bike rather than supporting your entire body weight with your hands.
Your core should remain gently engaged throughout the workout. A strong core stabilizes your torso, reduces unnecessary upper body movement, and allows more of your leg power to transfer efficiently into the pedals.
Finally, focus on smooth and consistent pedal strokes. Instead of simply pushing the pedals downward, think about creating a complete circular motion by pushing down and pulling through each rotation. This technique distributes the workload more evenly across your leg muscles and improves overall cycling efficiency.
Common Spin Bike Setup Mistakes
Even experienced riders occasionally develop habits that reduce comfort and performance. Fortunately, most setup mistakes are easy to correct once you know what to look for.
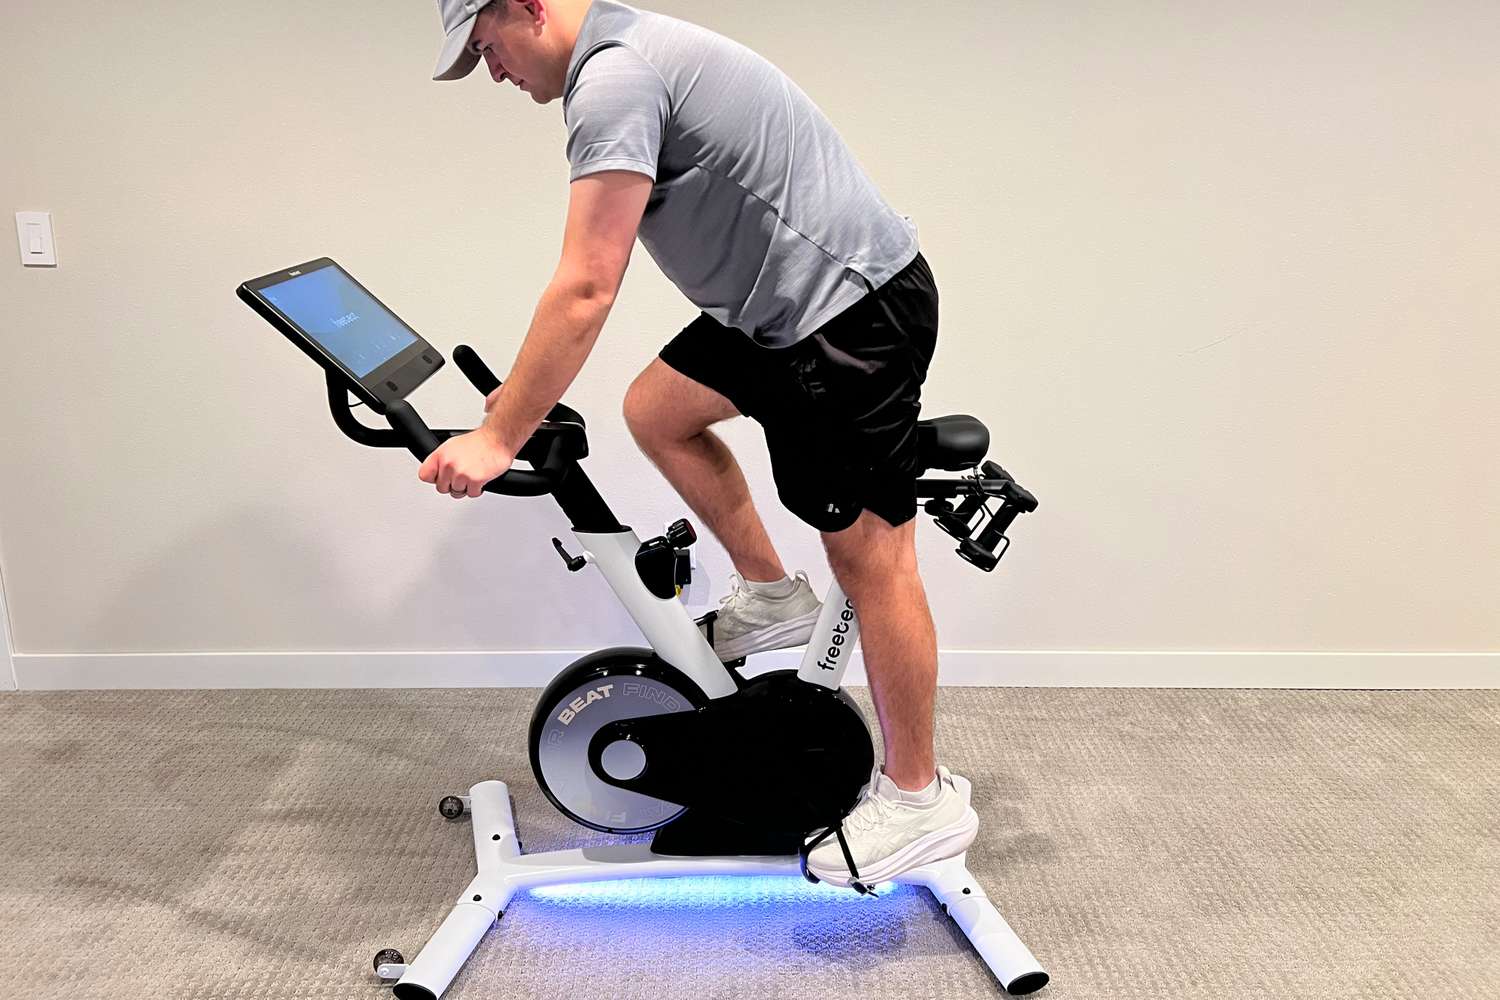
One of the most common mistakes is setting the seat too low. This causes excessive knee bending during every pedal stroke and often leads to discomfort around the front of the knee. Riders may also notice that their legs fatigue more quickly because the muscles cannot produce power efficiently.
Another frequent mistake is raising the seat too high. While this may initially feel comfortable, it often causes the hips to rock from side to side as the rider reaches for the pedals. Over time, this movement can place unnecessary strain on the hips, lower back, and hamstrings.
Many people also position the handlebars too low before developing the flexibility needed for an aggressive riding posture. This often leads to rounded shoulders, neck tension, and lower back discomfort. Beginners generally benefit from higher handlebars until their mobility and cycling confidence improve.
Using incorrect resistance is another common issue. Riding with extremely light resistance creates uncontrolled pedaling, while excessive resistance encourages poor technique and unnecessary joint stress. Finding the right balance allows smoother movement and more effective workouts.
Finally, some riders neglect to check their bike adjustments regularly. If multiple people use the same bike, seat and handlebar positions should always be verified before each workout to ensure proper alignment.
Spin Bike Setup Tips for Beginners
For beginners, comfort should always take priority over performance. Trying to imitate the aggressive riding position of experienced cyclists too early can make workouts uncomfortable and discourage consistency.
Start by positioning the handlebars slightly higher than the seat. This creates a more upright posture that reduces pressure on the lower back, shoulders, and wrists while allowing you to become familiar with indoor cycling.
Choose moderate resistance that allows smooth pedaling without excessive effort. Focus on developing good technique before attempting demanding interval sessions or heavy hill climbs. As your strength and endurance improve, you can gradually increase both resistance and workout intensity.
Shorter rides are also beneficial during the first few weeks. Allowing your body to adapt gradually helps prevent unnecessary soreness while building confidence and consistency.
Remember that proper setup is not something you adjust once and forget. As your flexibility, strength, and riding ability improve, you may find that small adjustments create an even more comfortable and efficient riding position.
Read: Abu Dhabi Inspires Initiatives
Adjustments for Taller and Shorter Riders
Every rider has unique body proportions, which means there is no single bike setup that works for everyone. Taller riders often require higher seat positions and slightly greater distance between the seat and handlebars to maintain comfortable joint angles during pedaling.
Shorter riders may need to bring the seat forward while lowering both the seat and handlebars to avoid overreaching. The goal is always to create a natural riding position where the legs can pedal smoothly without excessive stretching or bending.
Leg length is often more important than overall height. Two people of the same height may require different seat settings depending on the length of their legs and torso. Taking time to fine tune your setup according to your own body rather than copying someone else's position produces much better long term results.
Comfort should always be the final guide. If your setup allows smooth pedaling, relaxed posture, and pain free movement, you are likely very close to your ideal riding position.
Signs Your Spin Bike Needs Readjustment
Even after finding a comfortable setup, your bike may occasionally need small adjustments. Changes in flexibility, fitness level, footwear, or riding technique can all influence how your bike feels over time.
Persistent knee discomfort often indicates that the seat height or seat position needs attention. Lower back pain may suggest that the handlebars are too low or that your core is not providing adequate support. Neck and shoulder tension frequently results from reaching too far forward or supporting too much body weight with your arms.
Hip rocking during pedaling usually means the seat is slightly too high, while cramped leg movement often indicates that the seat should be raised. Numb hands or sore wrists may suggest that the handlebars require adjustment or that your upper body posture needs improvement.
Paying attention to these signals allows you to make small corrections before discomfort develops into a more significant problem.
Conclusion
A properly adjusted spin bike does much more than improve comfort. It helps you ride more efficiently, reduces unnecessary stress on your joints, supports better posture, and allows your muscles to produce power more effectively throughout every workout. Whether your goal is weight management, cardiovascular fitness, endurance training, or overall health, correct bike setup provides the foundation for safer and more enjoyable cycling sessions.
Taking a few minutes to adjust the seat height, seat position, handlebars, and resistance before every ride can make a significant difference in both performance and long term comfort. Small changes often lead to noticeable improvements in pedaling efficiency while reducing common problems such as knee discomfort, lower back pain, shoulder tension, and wrist fatigue.
It is also important to remember that your ideal setup may change as your flexibility, strength, and cycling experience improve. Reviewing your riding position regularly and making gradual adjustments allows your bike to continue supporting your fitness journey as your abilities develop.
Rather than focusing only on workout intensity, spend time creating a riding position that feels natural, balanced, and comfortable. The combination of proper setup, good technique, and consistent training will help you get the most from every spin bike session while reducing the risk of injury and improving your overall cycling experience.
If you are looking to buy other fitness machines or accessories, look no further! Explore our range of fitness products like treadmills, elliptical cross trainers, exercise bikes, rowing machines, home gym, functional trainer, multi-station, power towers, smith machines, dumbbells, foosball tables, pool tables, and table tennis.


 0
0